
How to Sharpen your Ice Auger Blades

The blades of ice augers become dull over time. Using worn blades for a long time will strain your auger device. The battery won’t last as long as it should. Should you immediately get a new one? Wait! Ice auger blades can be sharpened at home, and we will teach you that!
How to sharpen your ice auger blades? First, inspect the cutting edges and determine how much damages the blades have. Then, use a sharpening tool, such as Whetstone, sandpaper, or a sharpening file, and sharpen the blades carefully from a 35- to a 45-degree angle, depending on the requirements. Use lower grits initially and higher grits later.
How To Sharpen Your Ice Auger Blades With A Whetstone?
Whetstones can be a perfect choice to bring dull blades back to life.
You can use this go-to sharpening stone to sharpen your damaged ice auger cutting edge and make it perfect.
The following are the steps you want to follow to hone the blades of an ice drill.
Step 01: Choosing The Right Grit Sharpening Stones
Sharpening stones for ice auger blades are available in different grit ratings. They vary in their coarseness.
| Stone Type | Grit Rating |
|---|---|
| Coarse Stones | Less Than 1000 Grit Grades |
| Medium Stones | 1000 To 3000 Grit Grades |
| Finishing Stones | 4000 To 8000 Grit Grades |
Generally, most auger blades are perfect with less than 1000 grit grades. They are perfect for removing fine scratches and burrs.
Another advantage of low-rated grit is that you remove more metal rapidly. A few wipes can complete the job within a jiffy.
You will need around two or three grit grades with Whetstones.
For example, anglers can choose a sharpening stone with 120, 400, and 1000 grit grades if they need to remove a moderate amount of metal.
But, when you have to get off more than average metal substance, select Whetstones with 120, 240, and 400 grit ratings.
Before choosing a particular option, you want to determine how much metal need to remove the dull blades and make them perfectly sharp.
Step 02: Preparing The Whetstones
After choosing the right Whetstones, you want to prepare them.
Your Whetstones may clog up during the sharpening session. A small amount of oil or water will do the job.
There are many water-based honing oils or petroleum-based honing oil options available too.
It will make the stone surface smoother, allowing you to glide over it more effortlessly.
Plus, the oil will make the stone pores clean. It will dissipate frictional heat and ensure better-sharpening action.

Step 03: Determining Which Areas Require Sharpening
Ice auger blades generally have three parts: gradual or main bevel, secondary bevel, and rear bevel.
The main bevel is the large section of the ice auger blades. It looks like a large slope. This part requires the most attention as it goes through a lot of misuses while you drill ice.
The secondary bevel is also located on the same side but covers a small area.
On the other hand, the rear bevel is located opposite, which doesn’t face too much abuse.
Hence, closely inspect all three areas to determine how much damage or rust the blades have.
Step 04: Marking The Sharpening Area
Use a marker or Sharpie to mark your sharpening area effortlessly.
Plus, it will help you track how much you have sharpened and how much is left.
This will prevent you from over-sharpening. The edge would otherwise become thick and won’t cut well.
Usually, you want to mark the gradual or main bevel of the ice auger blades.
Once you complete sharpening this section, the other two take less time.
Step 05: Sharpening The Gradual Or Main Bevel
Place your Whetstones on a flat table. It should not move when you glide the blades over its surface. Put the lowest grit you have on your sharpening stone.
Keep the gradual or main bevel of the ice auger blades facing towards the sharpening stone.
Glide the blades over the Whetstones gently a few times. Never put too much pressure on the edges.
Make sure the entire section of the main bevel touches the stone. Otherwise, some areas of the marker will not be removed.
Stop in the middle and see how many fine scratches and burrs you have removed.
Change your sharpening style if the current one is not giving your effective results.
Step 06: Refining The Gradual Or Main Bevel
After completing the lowest grade grit, move to the next higher grit.
Lower-grade grits generally repair the chipped edges, whereas higher-grade grits give the blades a better edge.
Avoid putting too much pressure. Always be gentle and steady while sharpening ice auger blades.
Otherwise, it will crush or remove the grit from the sharpening stone and destroy the edge from excessive heat.
Step 07: Sharpening The Secondary Bevel
Even if the secondary bevel of the ice auger blades looks fine, you don’t want to skip this step.
Always use the highest-rated grit for sharpening the secondary bevel.
Place this part on the sharpening stone correctly and glide it from one side to another 15 to 20 times.
Here, the pressure will be far less than the main bevel. After all, it has fewer stains and scratches.
Just be cautious while sharpening this section. Watch out for how much improvement it gains after every glide.
You may need to stop after ten passes if the edge looks razor-sharp.
Step 08: Sharpening The Rear Bevel
The last job is sharpening the rear bevel. Again use the highest-rated grit for honing this part.
Place the rear bevel on the sharpening stone correctly and glide it from one side to another 15 to 20 times.
Use a fresh dry towel to wipe the ice auger blades and remove any dust or dirt.
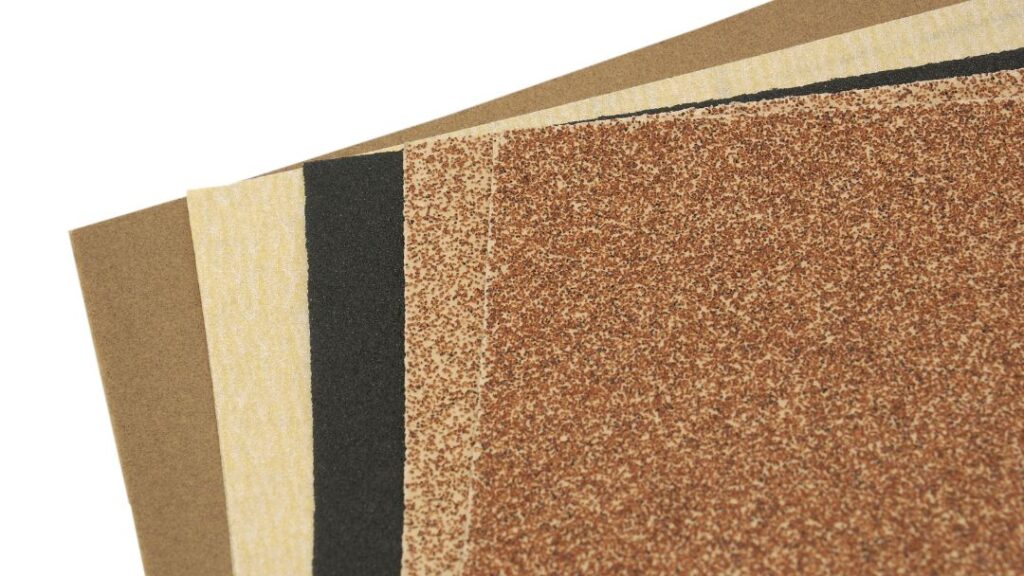
How To Sharpen Your Ice Auger Blades With Sandpaper?
Sandpapers are a perfect inexpensive option to sharpen ice auger blades.
They can remove imperfections and create a nice smooth finish on the cutting edge.
Besides, sandpaper can remove chips and other flaws from your blades more rapidly than many sharpening stones.
You just need a little preparation to sharpen the ice auger blades with sandpapers.
But, the sharpening method is the same as the Sharpening Stones.
Let’s figure out how to sharpen a spoon ice auger or other options with sandpapers.
Step: 01—Selecting A Perfect Surface
Choose a smooth and flat surface. It can be your reading table if it has plain glass.
Or you can use ceramic floor tiles if you have any.
Step: 02—Picking Three Grits Of Sandpapers
Select three grit sandpapers for sharpening ion ice auger blades or other options.
They should be coarse, medium, and finest.
Step: 03—Cutting The Sandpapers
Use a pair of scissors to cut the sandpaper based on your glass or tile dimension.
Make sure to trim the sandpaper slightly smaller than the tiles or glass.
Step: 04—Placing The Sandpapers
Place three sandpapers on three tiles or glasses and use tape or any handy adhesive.
It will help you secure their position on the smooth surface.
The sandpaper should stay flat without any lines or folds in the middle.
Otherwise, it will disrupt your sharpening task.
Step: 05—Sharpening The Blades
Apply a small amount of water to your ice auger blades.
Follow the method we mentioned earlier in the Whetstone to hone your blades.
How To Sharpen Your Ice Auger Blades With A Sharpening File?
A sharpening file can be a handy tool to transform your damaged blade into a fresh one.
It is available in various sizes and shapes. Choose a compatible one to fit your ice auger blades.
Before using a sharpening file on the cutting edge, use it on a rough item to practice it a few times.
Using a sharpening file, let’s learn how to sharpen ice auger chipper blades.
Step: 01—Removing The Blades
Untighten screws or nuts from the ice auger blades using a screwdriver or wrench.
Remove the blades from the auger carefully.
Step: 02—Placing The Blades On A Flat Surface
Keep the blades on a flat and smooth surface.
The beveled edge should be faced the sky.
You may need to secure the position of the blades to prevent unwanted movements while sharpening.
Step: 03—Placing The Sharpening File
Keep the sharpening file on top of the blades.
It should stay at a 90° angle over the beveled edge.
Step: 04—Sharpening The Blades
Add slight pressure to touch the beveled edge fully.
Then, move it in one direction and then in the opposite direction.
Repeat the process until your ice auger blades become sharp enough.
How To Keep Ice Auger Blades Sharp For A Long Time?
- Apply a silicone spray on the ice auger blades to decrease snow and ice buildup. This will protect the cutting edges in the long run.
- When ice auger blades become blunt, avoid using them further until you sharpen them. Otherwise, it will completely damage the blades. You will have to replace them.
- Don’t forget to test the blade edge before drilling the ice. It must be at a perfect angle. A wrong angle can affect the cutting ability of the blades.
- If your ice auger blades are excessively damaged, get a new one. Using fully blunt blades will add stress to your ice auger and may cause heavy wear and tear.
- Always use a cold snap blade protector or guard when not using the device. If you don’t carry any protector case, at least cover the blades using a soft cloth.
- Avoid exposing your ice auger blades to extremely hot weather or heat. The cutting edge may chip and bend.
- Don’t over-sharpen the ice auger blades. Otherwise, the cutting edge will become thicker and have a wedge shape.
- It is better not to sharpen the ice auger blade very often because the edges weaken the blade. And it will remove a significant amount of metal.
- Carry several blades when you go fishing for the entire day. This will help you avoid overusing a single blade without any break.
- Wipe the cutting edge of the ice auger blades carefully with fresh fabric and clean it properly. Then apply a small amount of oil on the cutting edge and store it carefully.
Final Words
If you heavily use your ice auger blades, it will last around 2 to 3 years. But being extra cautious while drilling and maintaining the right drilling technique can increase the lifespan.
You can retain its sharpness for a long time if you hone the cutting edges at least once a year. But avoid sharpening too much and too frequently. It will damage the blades.
Hopefully, you now know how to sharpen your ice auger blades. We have mentioned three methods. You can follow any of them based on your preference.


